


- Why can’t I sideload my app to my device?
- Where is the private key for my signing certificate?
- Why can’t I sideload my app with this certificate and provisioning profile?
When it comes to Apple development, these questions still cause headaches to some.
Often, these problems arise because of one or more issues related to code signing.
The purpose of this article is to help establish a better understanding of the relationship between the various resource files needed to complete the code signing process of an app. Before we do that, we’ll need to establish a client and identify an app to build. Then, a project scenario, which requires us to code sign a collection of iOS app bundles for different purposes / environments.
Let’s establish a client and an app name.
- Client name: The Client
- App name: The App
Not very imaginative, but it will do. We’ll also assume that we have access to the app development program on behalf of our client. Now let’s look at the resources.
Resources
In essence, there are three fundamental items which are required to complete the code signing process:
Bundle identifier
An app’s bundle identifier is a unique identifier for your app. Not just across your organisation’s apps but the entire app store. It is typically written using reverse domain syntax. For example:
com.client.app_name
It is also against the bundle identifier, that we associate our application’s capabilities. We’re not going to dwell too much on that in this article though as we are concerned with the signing process itself rather than what our app does.
Signing certificate
A signing certificate is a private / public key pair which is used by Apple to verify who you are as an individual developer or organisation. It cryptographically signs the app to demonstrate that the app has come from a trusted source and has not been tampered with. The private key is stored on your machine, typically in your keychain and is used to sign the app. There are two different types of signing certificates:
- Developer certificate
Used to sign apps which can be sideloaded to physical devices directly. This is typically for testing and debugging your app.
- Distribution certificate
Used to sign apps which can be delivered either to a third party-distribution channel such Firebase, or App Store Connect.
Provisioning profile
There are several different ways to think about what a provisioning profile is. Apple provide a very interesting article explaining, in technical detail, what these are. For the sake of brevity though, and the context of this article, we can say that the provisioning profile grants permissions for several aspects of your app. Namely:
- Who can sign the app? (Derived from the signing certificate)
- What apps can be signed using the provisioning profile and what are the entitlements / capabilities of the app? (Derived from the bundle identifier)
- Who can run the apps? (Provisioned device ids which are added to the developer portal via a unique UDID)
- When can the apps be run? (Up until the expiry date of the signing certificate)
You could also say that a provisioning profile binds all three resources together and, if correctly bound, we are able to sign an app.
Now that we know what these resources are and how they relate to each other, let’s go through our use case and what resources we need to successfully sign our app bundles.
Because the article covers how the resources are related, which hopefully can help troubleshoot any issues with signing, this article won’t go through the creation process of these resources as there is plenty of other articles / documentation explaining how to do this.
App requirements
After discussions with the client and the internal dev team, it has been established that we need to be able to build 4 variations of our app:
Dev - A build which will be sideloaded by developers to test on a device.
com.client.app_name.dev
UAT - A build which will be distributed to the client via App store Connect
com.client.app_name.uat
QA - A build which will be distributed to our internal QA team via Firebase
com.client.app_name.qa
Prod - A build which will be distributed to the client via App store Connect
com.client.app_name
Given this scenario, we have decided on our four bundle ids. Whilst it is possible to achieve this with only two bundle ids, we are going to create four. There are three reasons for this:
- Separation of builds / ids which will keep things clean.
- We can have all four builds installed on a device at once, if needed.
- It will help with this article.
As mentioned above, we won’t concern ourselves with the app capabilities, but rather just the ids themselves.
Next up, we need to create our signing certificates.
- Prepare two ‘Certificate signing requests’ from your keychain on your mac, providing your email address and saving to disk. One will be for our development certificate and will be for our distribution certificate.
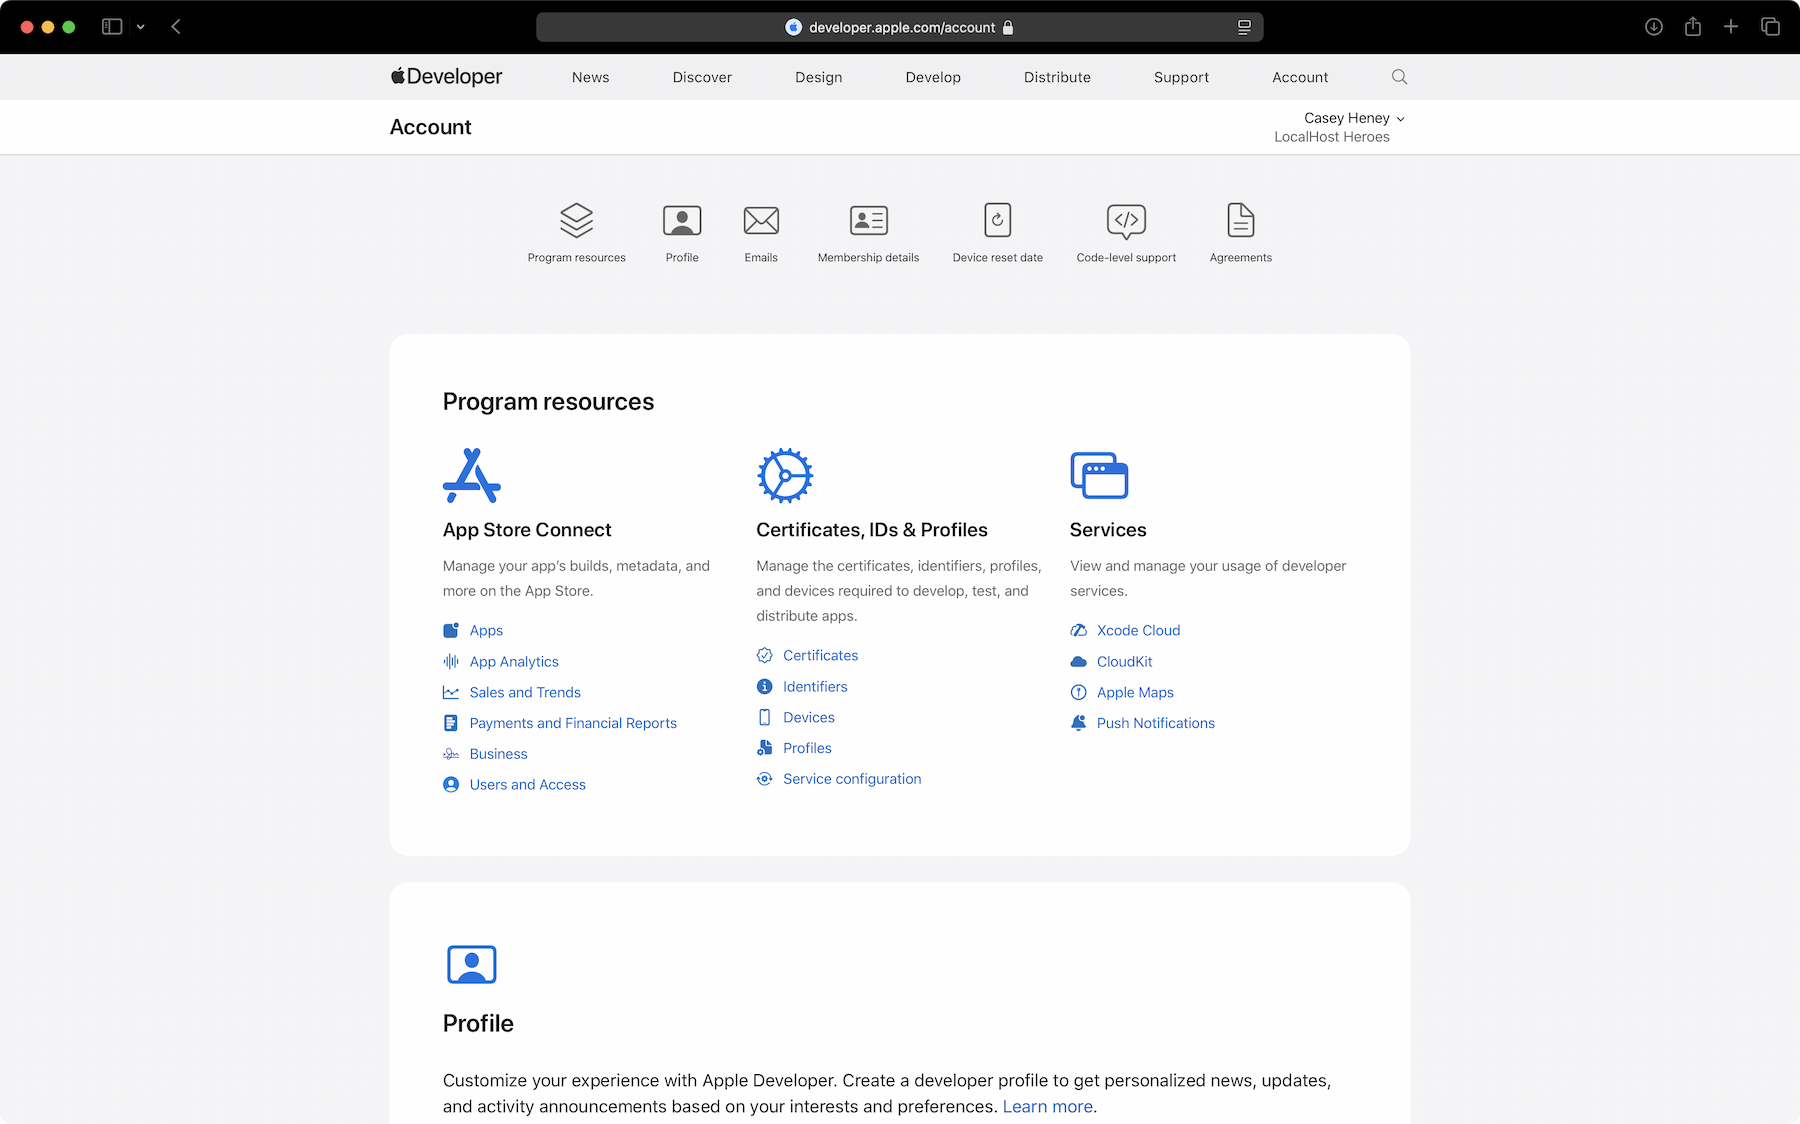
- Next, log into the Apple developer portal, select ‘Certificates’ and click on the plus icon. We need to select the option ‘Apple Development’ and ‘Apple Distribution’. For each of these, provide one of the Certificate signing requests we created and click continue.
- When we reach the end of this flow, you will be asked to download the certificates. Make sure you do this and then store the certificates in a secure vault. If another developer who did not create the distribution certificate wishes to sign the app in the future, they will need a copy of the certificate. However, they will not be able to download the private key from the Apple developer portal.
- As well storing these in a secure vault, double-click the downloaded files which installs the certificates into your keychain. When signing your apps, it is here where Xcode will look for your certificates by default.
Profiles
Let’s move on to, for some, the most confusing part of the process, - ensuring we have our provisioning profiles correct and ready.
Given that we have four bundle identifier and a provisioning profile is attached to a bundle identifier, we will need four provisioning profiles.
Dev
A development profile used to provision app builds sideloaded to a device for debugging. Associated bundle id is com.client.app_name.dev and will be signed using the development certificate.
QA
An ad-hoc distribution profile used to provision app builds to be delivered to any channel other than App Store Connect. Associated bundle id is com.client.app_name.qa and will be signed using the distribution certificate.
UAT
An app store distribution profile used to provision app builds to be delivered to App Store Connect UAT app. Associated bundle id is com.client.app_name.uat and will be signed using the distribution certificate.
Prod
An app store distribution profile used to provision app builds to be delivered to App Store Connect production app. Associated bundle id is com.client.app_name and will be signed using the distribution certificate.
Devices
The process for making these profiles is identical except for one additional step needed for the Dev and QA builds. Because the Dev and QA builds are side-loaded / distributed without App Store Connect, we must stipulate which devices are able to install the builds. Let’s summarise this process below.
- Log into the Apple developer portal, select ‘Profiles’ and click on the plus icon. We need to select the option ‘iOS App Development’ and ‘Ad Hoc’ respectively, for our Dev and QA builds.
- Next, select from the dropdown, the corresponding bundle id, outlined above in our profile requirements.
- Provide the appropriate certificate for each profile. The development certificate for the Dev build and the distribution certificate for the QA build.
- The next screen will ask us to provide which devices, that have been registered in the portal, we’d like to be able install our build. Simply select which devices and then click the continue button.
- The final step is to provide a name for your profile. Use something which suggests the name of your app and the environment so it’s easy to identify. Download the newly made profile and double-click to install it via Xcode to the specially reserved folder. In Xcode 16 and beyond, this can be found at:
~/Library/Developer/Xcode/UserData/Provisioning Profiles
If you navigate to this folder and press spacebar with a profile selected, the mac will display the profile in preview mode showing the name, device list, bundle id, signing certificates and capabilities of your app.
For the UAT and Prod apps, given that these are App Store Connect builds, we need to specify ‘App Store Connect’ as the type of profile. Every step beyond that, as mentioned is above, is identical to the Dev and QA profiles without the need to specify a device list.
Now that we have our resources in place, we can use Xcode configurations to setup custom signing. Under ‘Signing & Capabilities’ with our app target selected, we can assign the correct bundle id, signing certificate and provisioning profile. This will now allow us to sideload our dev build to our provisioned device, and archive our QA, UAT and Prod builds.
To summarise our resource files, the table below shows how each of the resource types relate to each other and for which app.
| Bundle Identifier | Signing certificate | Provisioning profile | |
| Dev build | com.client.app_name.dev | Development | Dev (with devices) |
| QA build | com.client.app_name.qa | Distribution | QA (with devices) |
| UAT build | com.client.app_name.uat | Distribution | UAT |
| Production build | com.client.app_name | Distribution | Prod |
Hopefully these use-cases will provide readers with a good enough understanding, and practical examples on how using variations of the signing files will make managing your app signing clearer and easier.